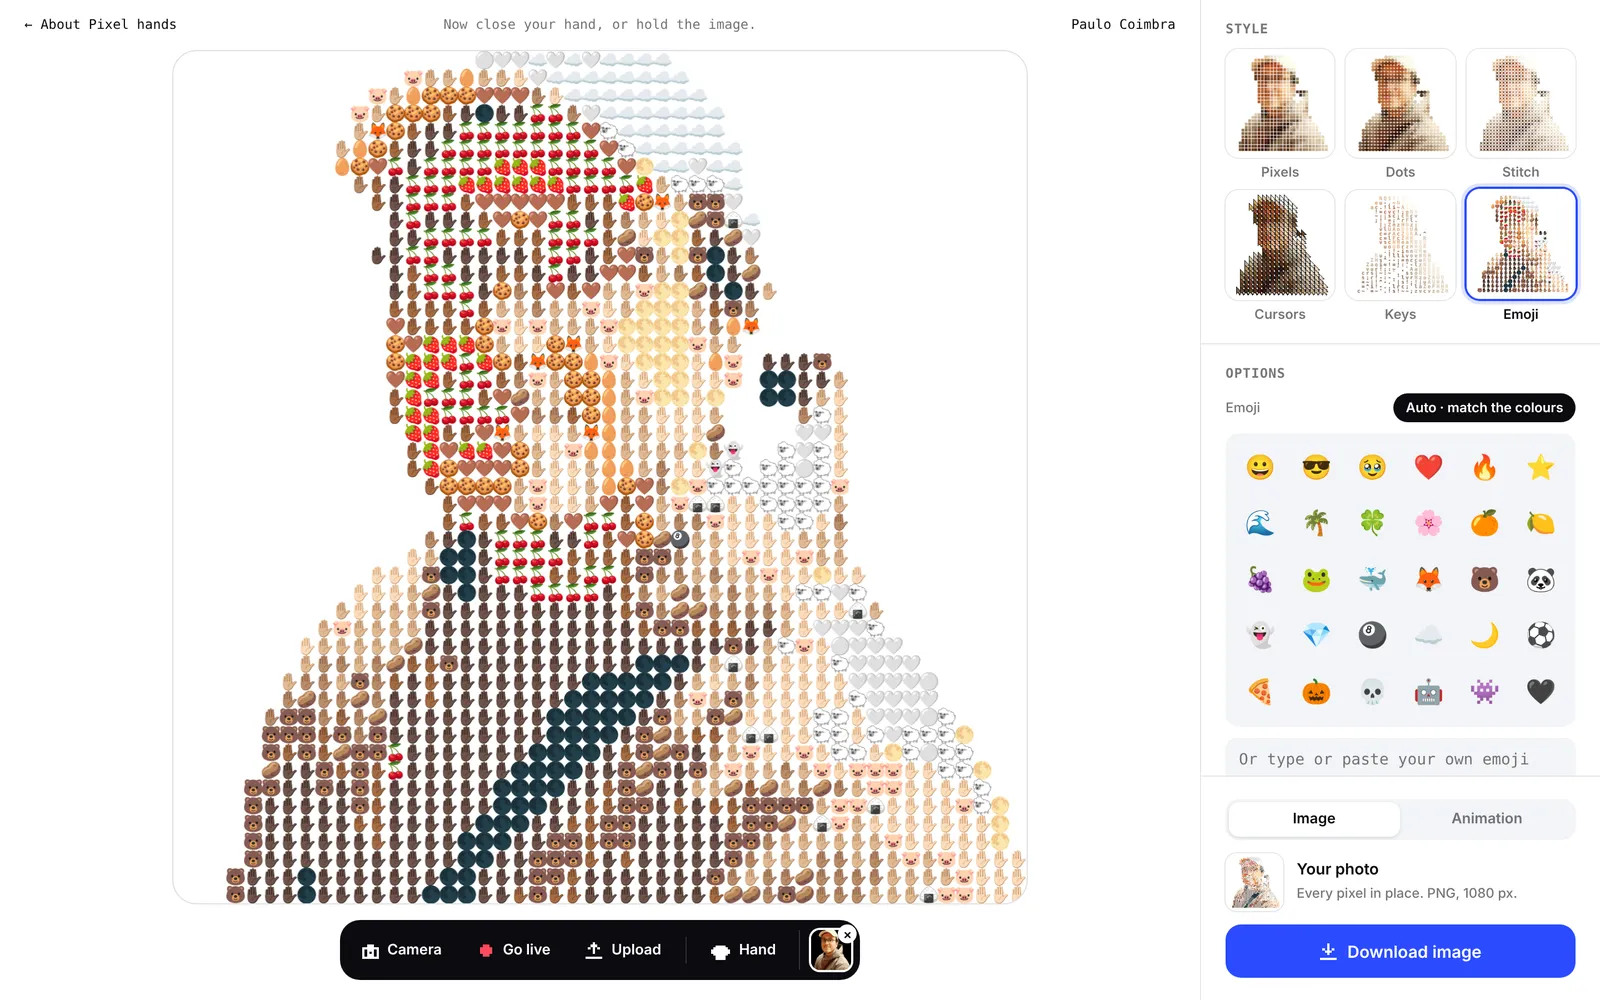
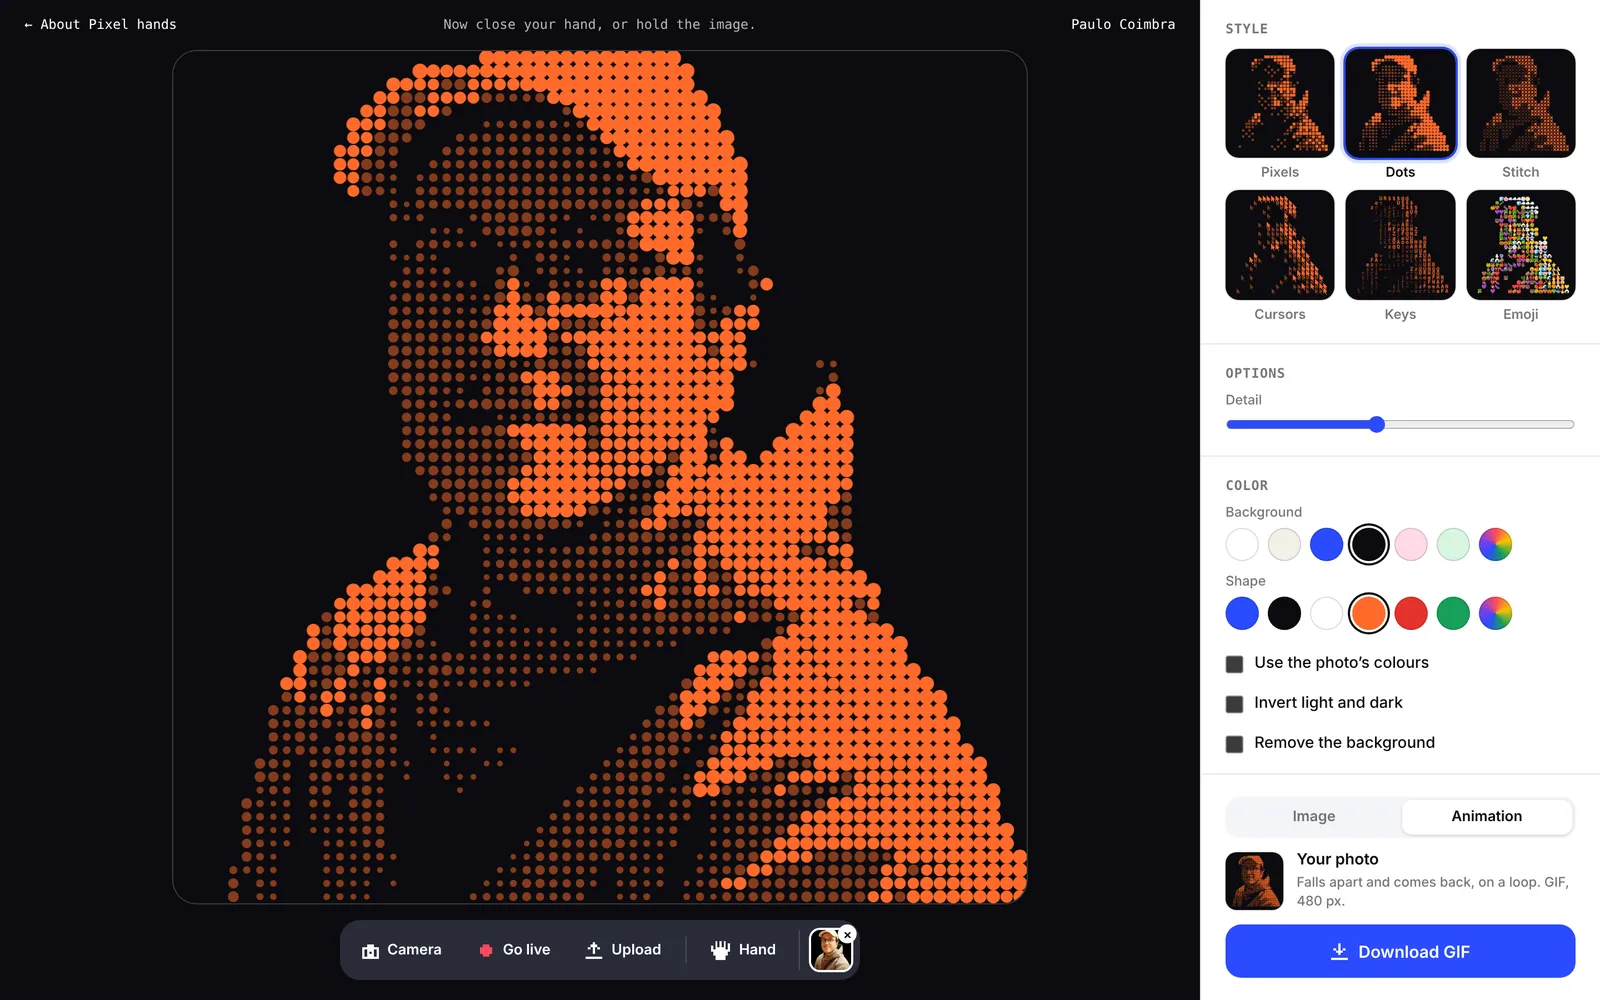
Your photo, or you live on camera, rebuilt in pixels, dots, stitches, mouse cursors, keyboard characters or emoji. Make a fist and it falls apart; open your hand and it comes back.
Free, in the browser, on a computer or a phone. Photos and camera never leave your device.
the idea
The portrait on my home page, but yours
My home page opens with a portrait of me in pixels that falls apart and comes back. I wanted anyone to be able to make their own.
Tessera is that portrait, made with your photo, and you control it with your hand instead of a mouse. Make a fist and it falls apart. Open your hand and it comes back.
The name is the word for one small tile in a mosaic. Every style here is a different kind of tile.
six styles
One photo, six ways to draw it
Every style works with photos, with the live camera, and with your hand. The colours are yours to pick.
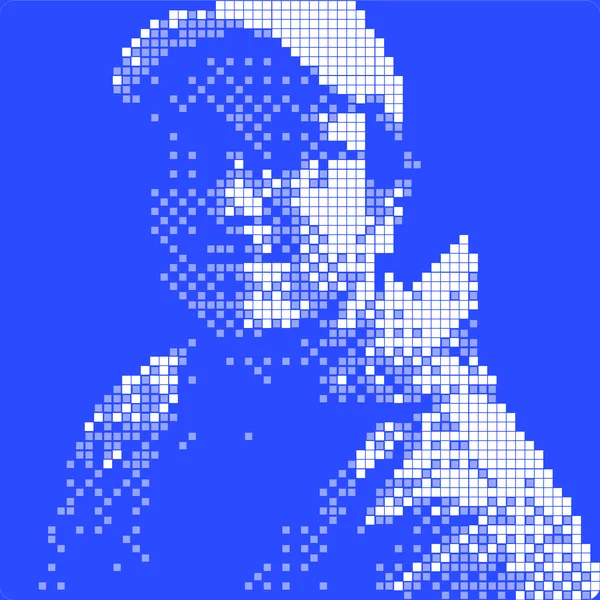
PixelsThe first one. Light and dark become two tones of square.
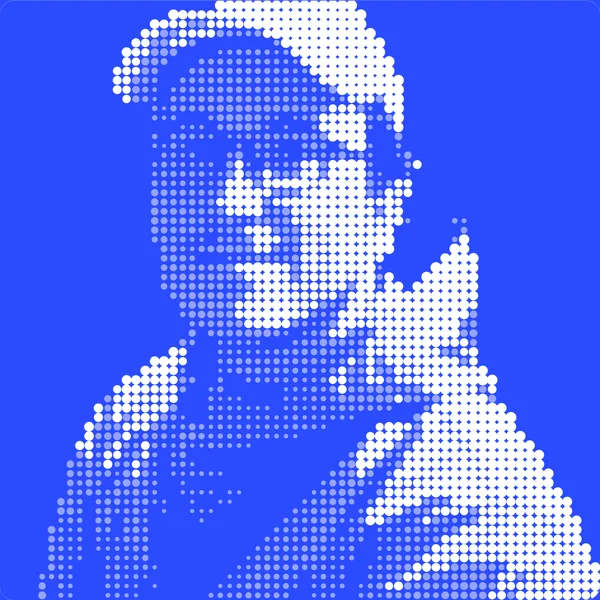
DotsHalftone, like a newspaper photo. Darker spots get bigger dots.
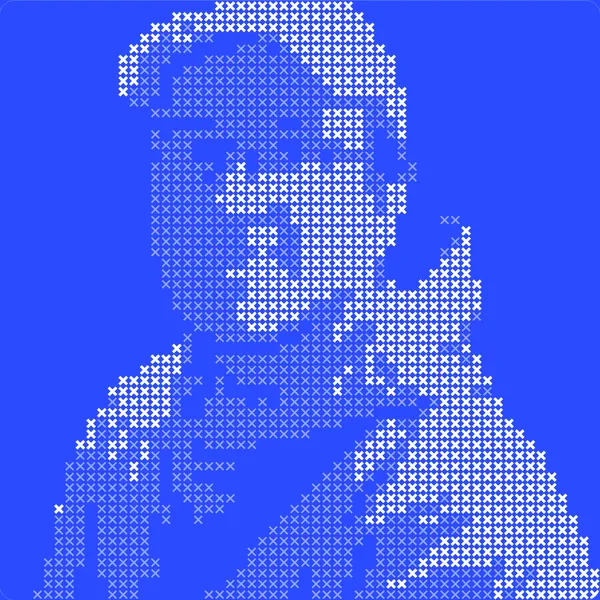
StitchCross-stitch. One X per cell, thicker where the photo is dark.
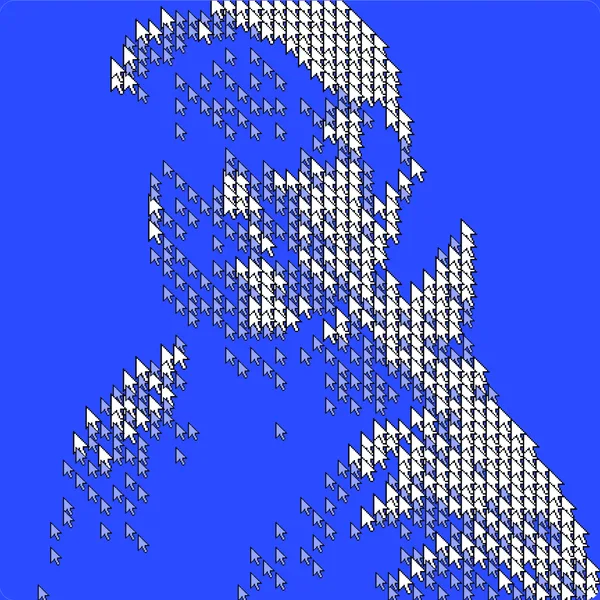
CursorsThe old arrow cursor. When it falls apart, every arrow flies home pointing at its spot.
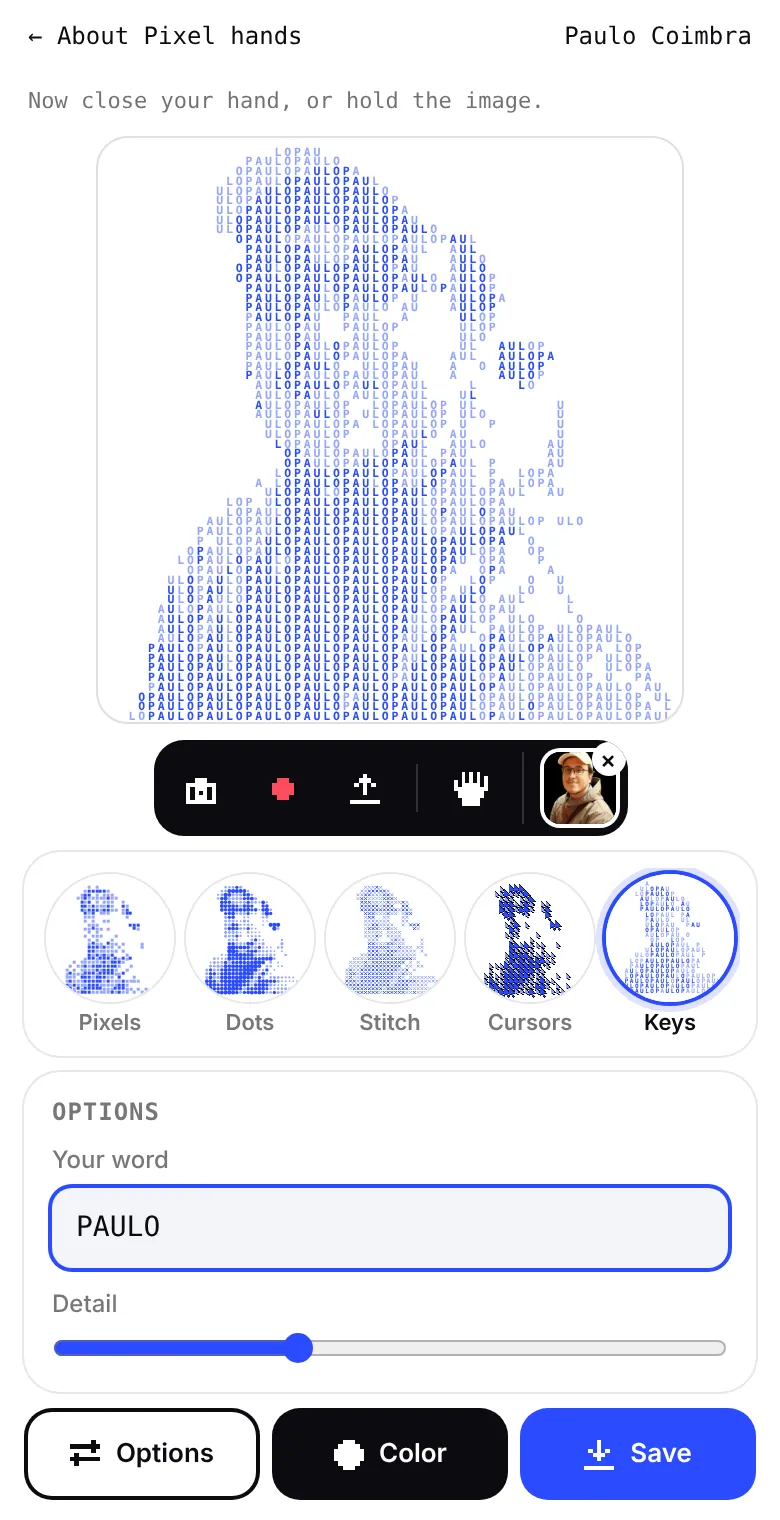
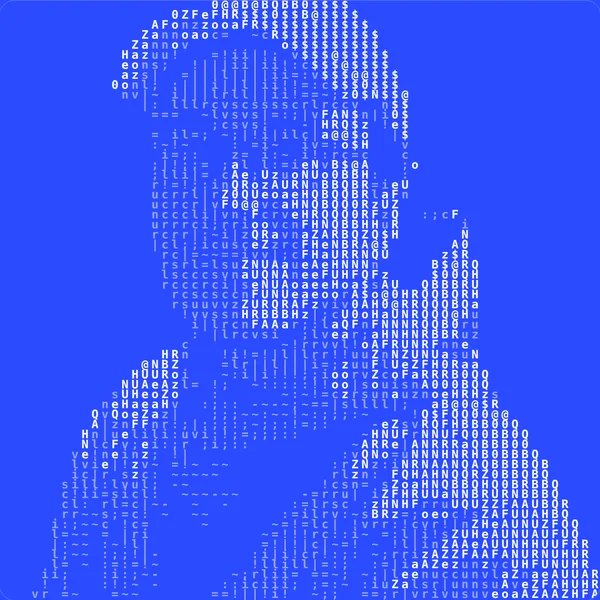
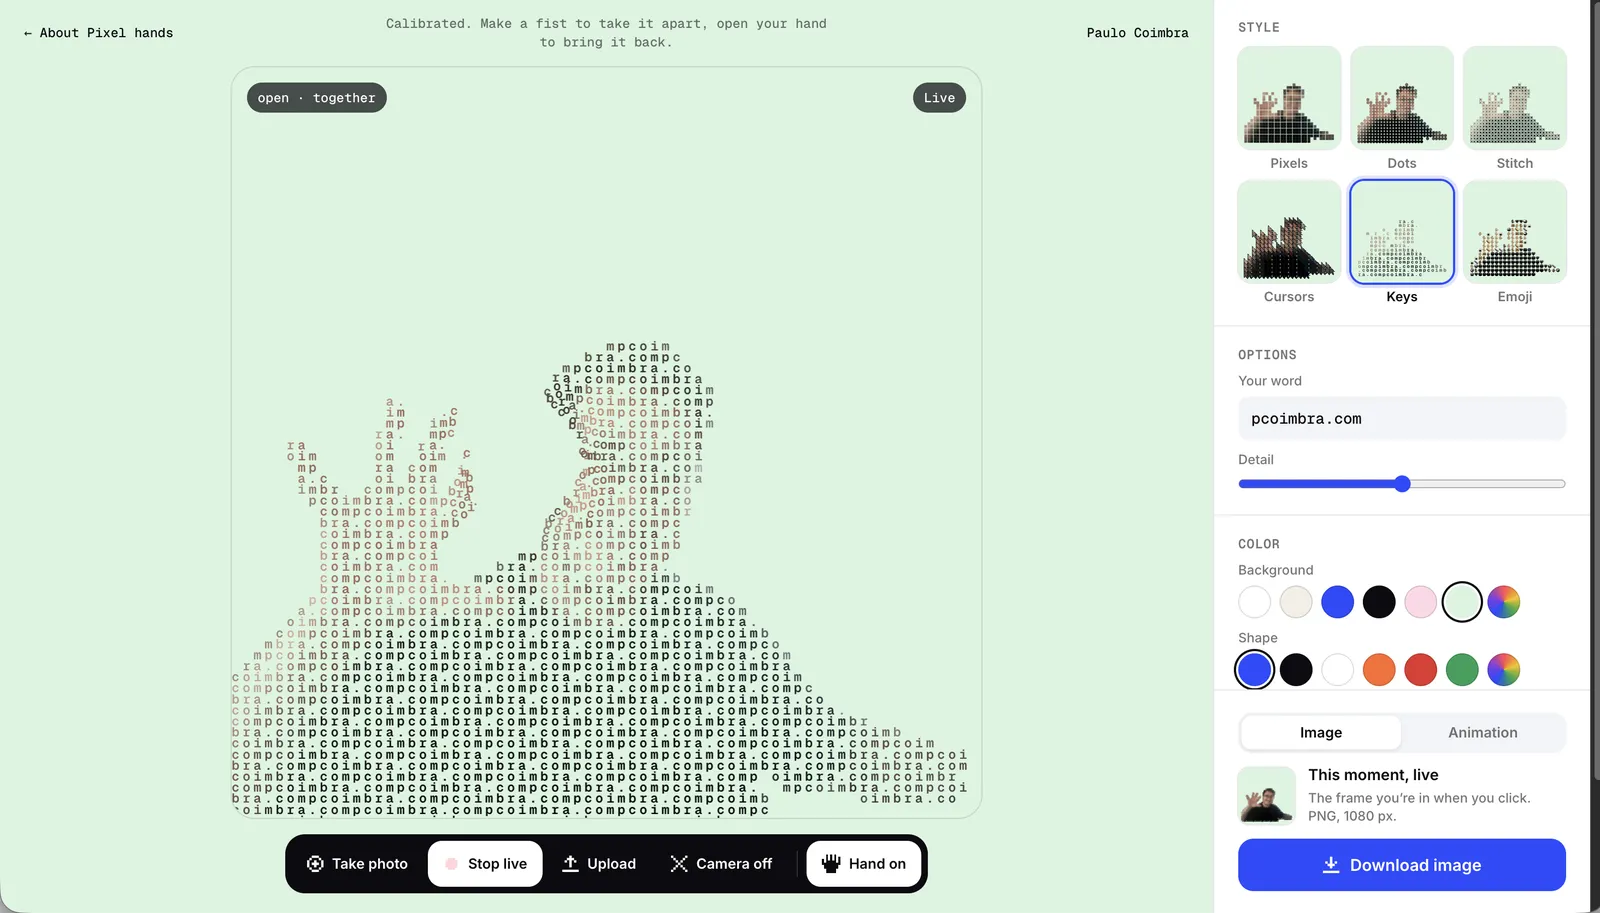
KeysKeyboard characters, from a dot to a $. Or your own word, repeated.
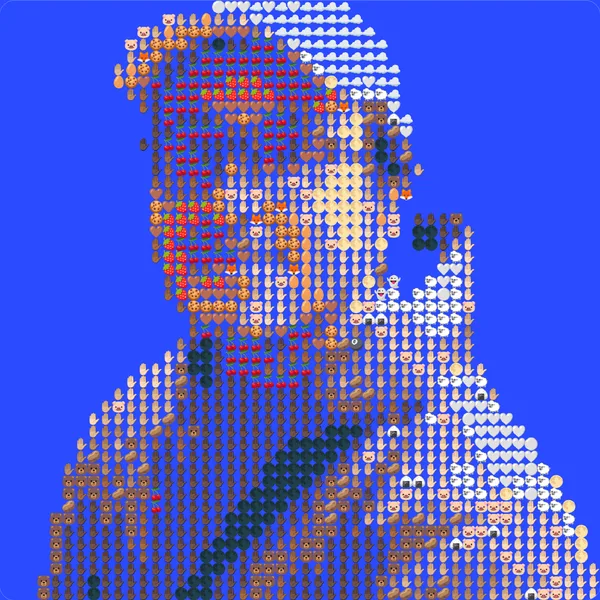
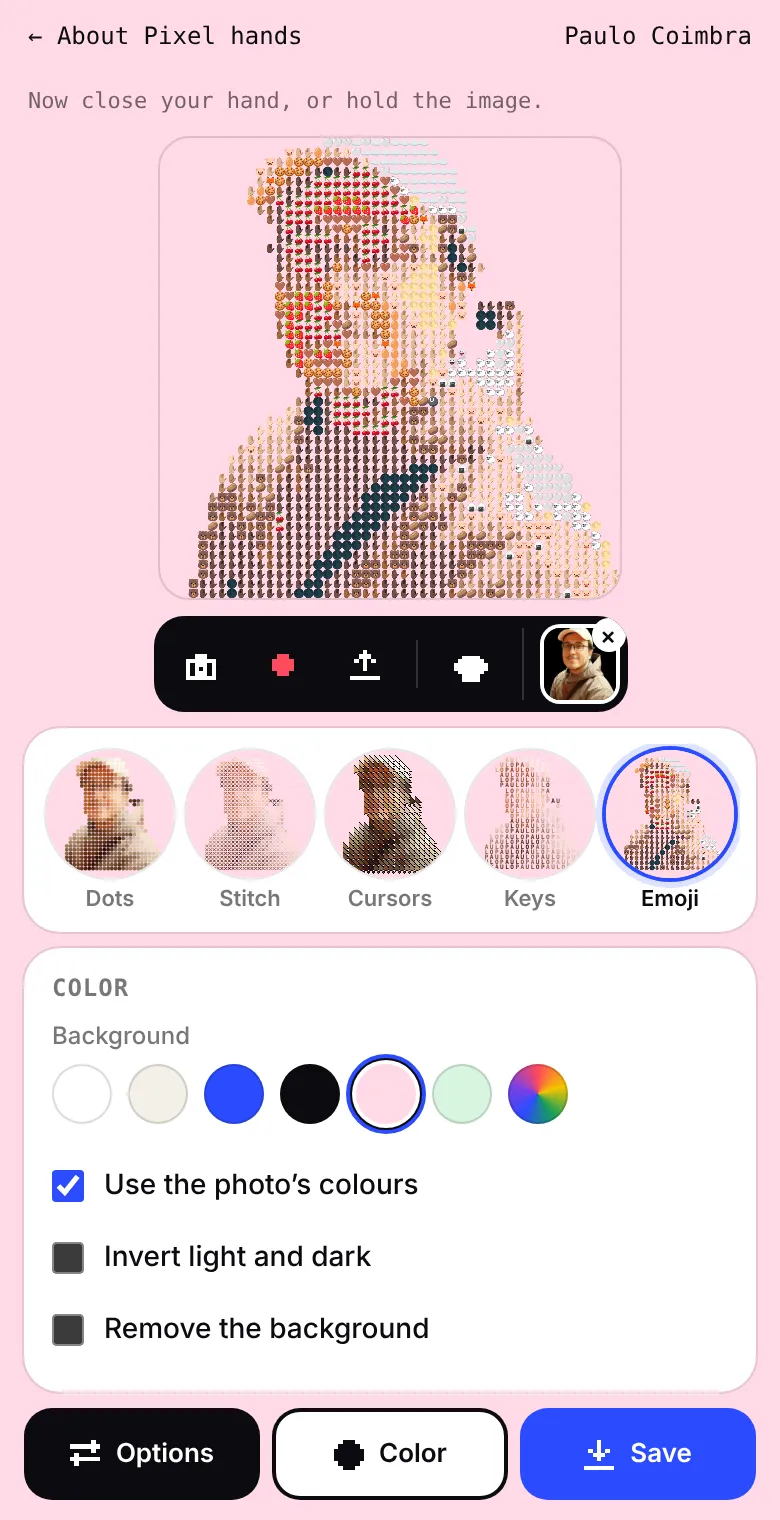
EmojiEach cell gets the emoji closest in colour, measured in your browser.
based on
What it borrows from
Halftone printing
Newspapers drew photos with dots of different sizes. That became the Dots style.
Cross-stitch
A picture made one X at a time, on a grid, like a pixel image long before screens.
ASCII art
Pictures typed with the characters on a keyboard, from the early days of computers.
Cursor art
A figure drawn with hundreds of old arrow cursors. Once I saw it, it had to be one of the styles.
how it works
From a photo to a fist
01
Pick a source
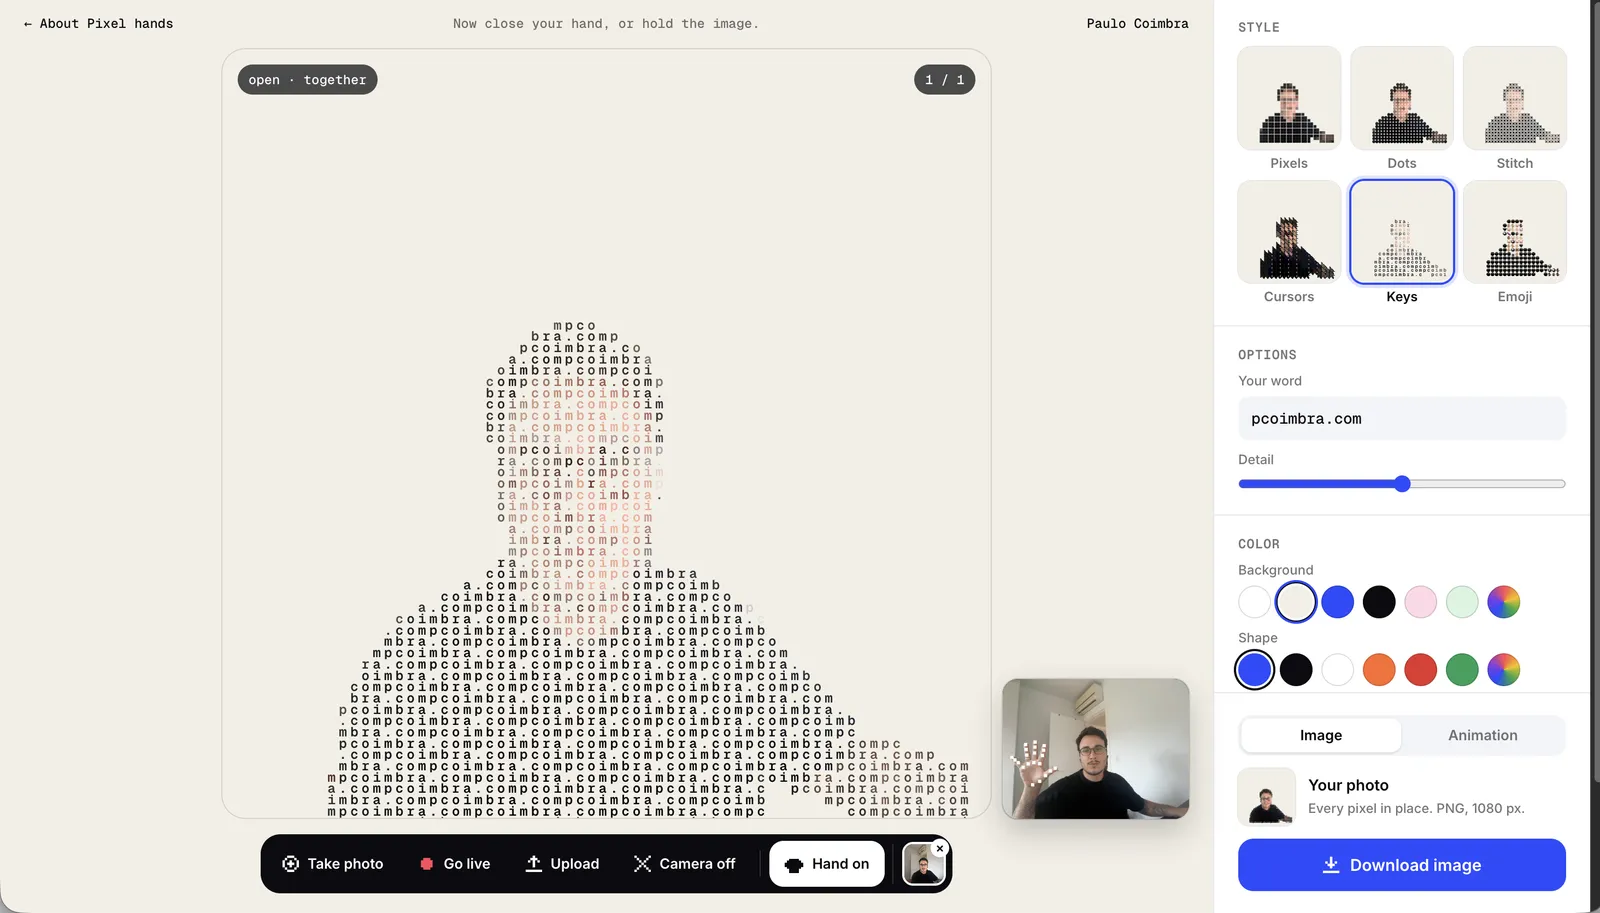
Upload up to six photos, take one with the camera, or go live and the pixels follow you as you move. The small preview shows the camera and the points it finds on your hand.
02
Pick a style
Every style in the panel shows your own image already drawn in it, so you choose by looking at the result. Then pick the colours.
03
Make a fist
First it asks for your open hand, then a fist, about a second each, so it learns your hand. After that, close it and everything scatters; open it and it comes back. No camera? Hold the image.
04
Keep it
Save a PNG of the portrait, or a GIF of it falling apart and coming back. Both are made in the browser.
made with it
Live, with your hand in the picture
Saved straight from the tool while testing it live. Your hand becomes part of the picture, so a wave or a thumbs up is drawn too.
Pixels in blue, on white.
Keys: my site address, in blue, as a thumbs up.
Emoji with the photo’s colours.
Cursors in blue, on white.
how it changed
Three tries at the controls
The effect worked from the first version. Getting the controls right took three, each one shaped by testing.
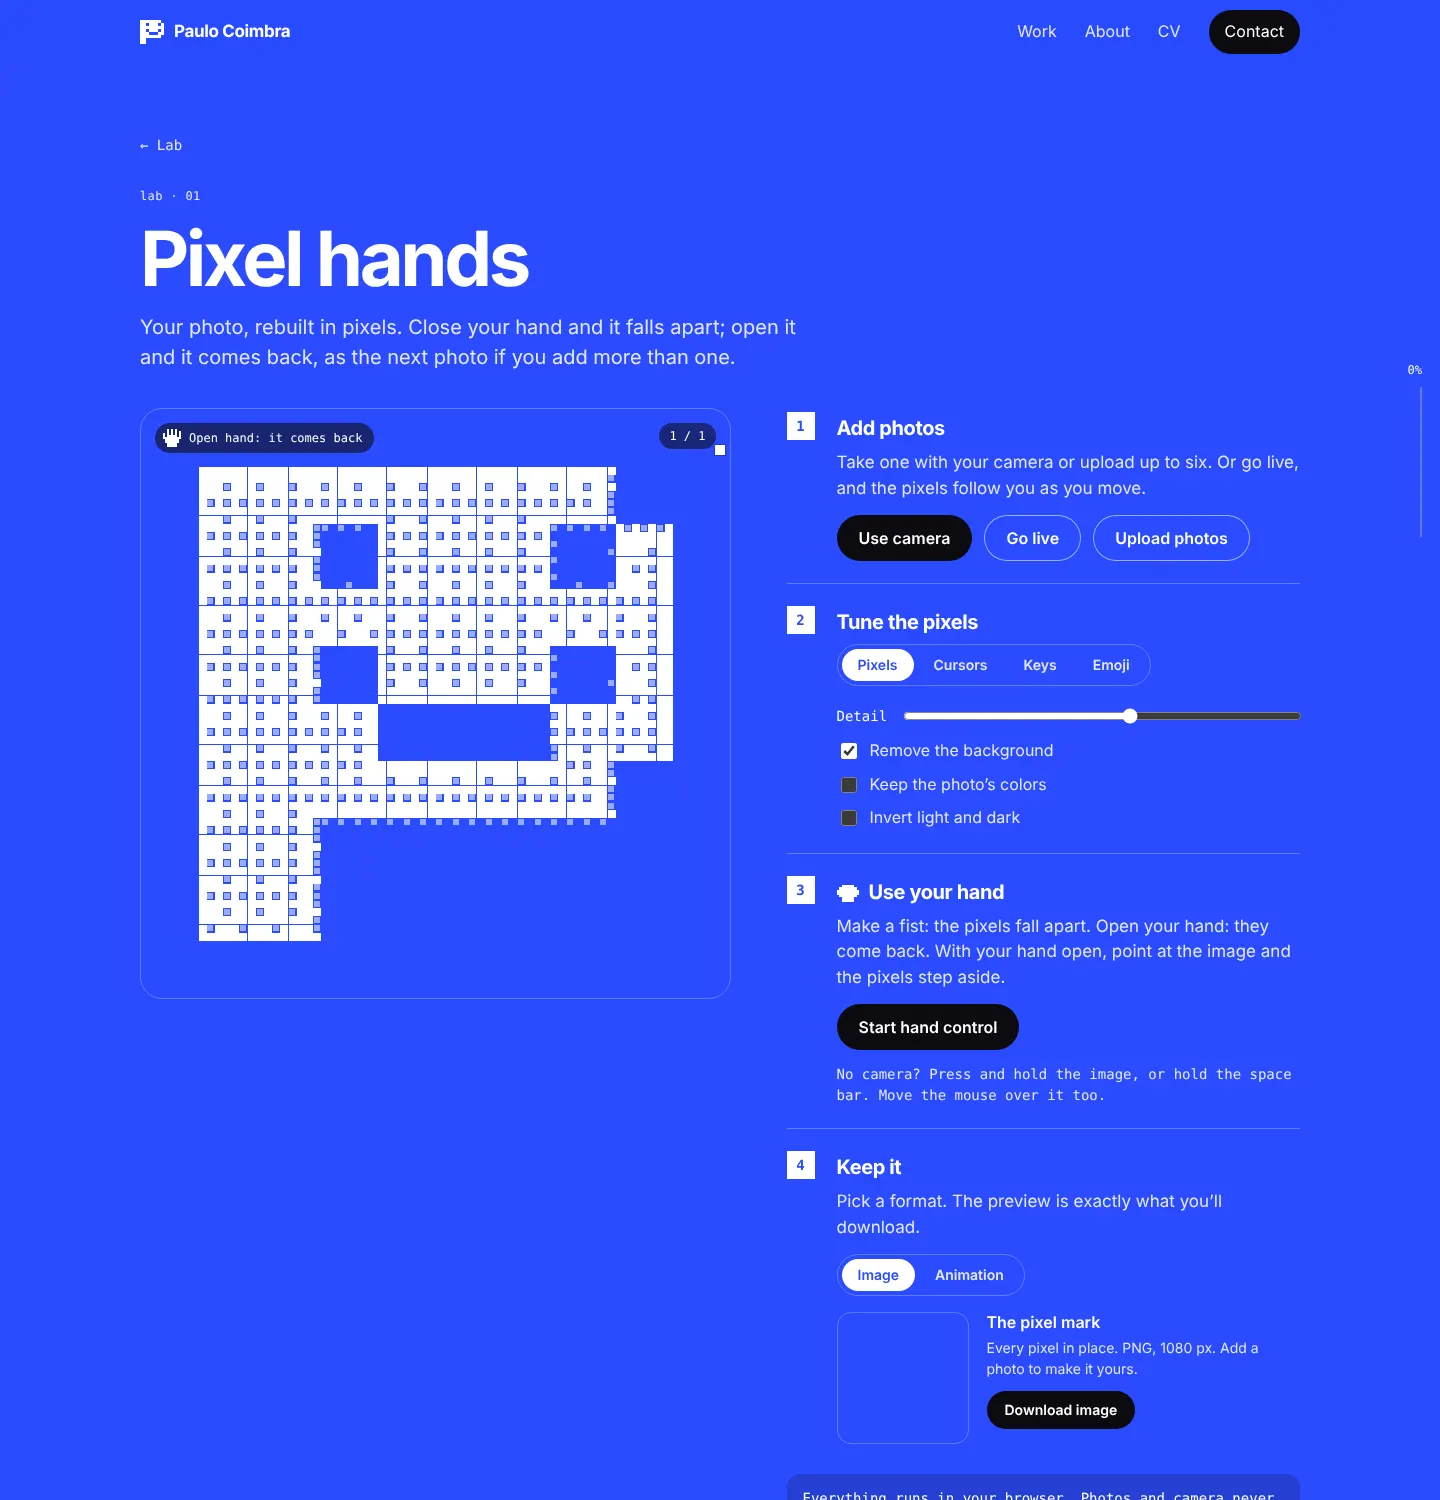
v1
Steps beside the image
Four numbered steps next to the image, on a normal page. It explained itself well, but you scrolled away from the image to change anything.
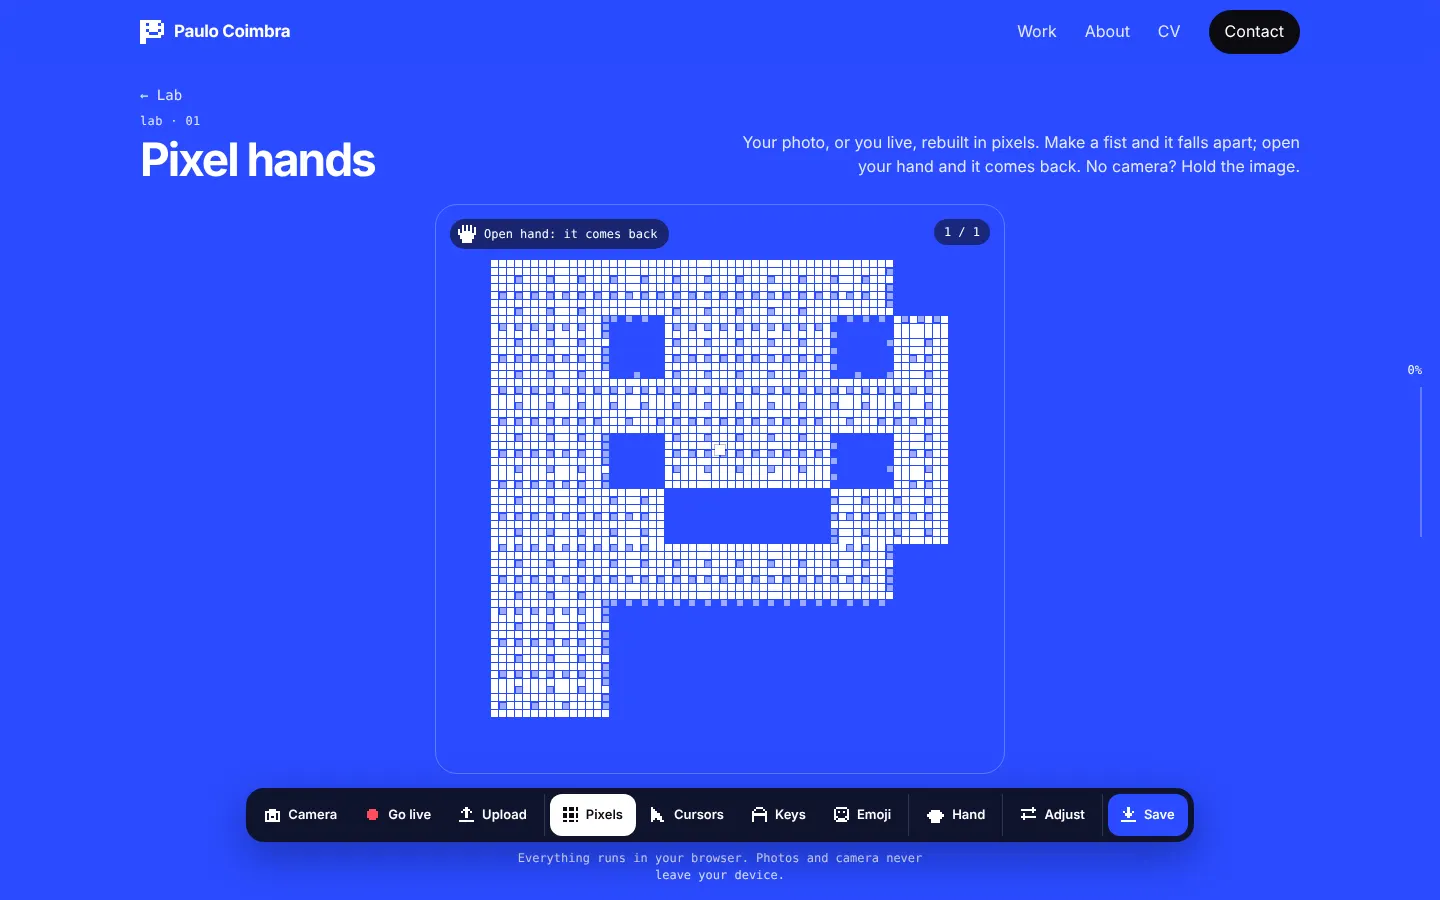
v2
A floating dock
The image in the middle and a dock at the bottom. Testing it, the panels opened on top of the camera while I calibrated my hand, and a long row of emoji was hard to use.
v3
Previews you can see
I looked at how photo editors and camera apps handle filters, on Mobbin. The answer was a side panel where every style is a live preview of your own image, and a page of its own with nothing else on it.
on a phone
Like a camera app
On a phone it works like the camera apps people already know: the image on top, the styles in a row you swipe, and options, colour and save in a sheet that pushes the image up instead of covering it.
how it’s built
Made in code, with Claude
Plain web code
HTML, CSS and JavaScript, drawn on a canvas. I prototyped it in code with Claude.
Hand tracking
Google’s MediaPipe finds 21 points on your hand. How far your fingertips are from your wrist says how open it is.
Background removal
A second MediaPipe model cuts you out of the photo, so only you turn into pixels.
Live at 30 frames
Each camera frame is cropped, shrunk to a small grid and redrawn, about 30 times a second.
A home and a scatter spot
Every cell has a place in the portrait and a place in the cloud. Your hand decides where between the two it sits.
Nothing leaves your device
Photos and camera stay in the browser. The PNG and the GIF are made there too.
what I took from it
The effect is the easy part
The design work is in the permission moment: ask for the camera only after a click, say clearly that nothing leaves the device, and make sure the page still works for someone who says no.
And in the controls. A tool you play with needs the image in view all the time, so nothing should ever cover it.
status
Still playing with it
I keep adding styles. Tell me which one you’d add.